

No water means no coffee, no shower, no cooking, and thus no real freedom when camping. A reliable water supply in the motorhome is therefore just as important as heating or electricity because only it determines whether your camping holiday feels like an improvised emergency program or a cozy mini-home. Learn what matters in water supply and how to relieve your system with a chemical- and water-free toilet solution.
Basics of water supply in the motorhome
Basically, the water supply in the motorhome always works similarly, whether installed in a compact camper, a converted panel van, or a large caravan. The basis: You have a fresh water tank connected to a pump, hoses, pipes, various fittings, a drain, and finally a wastewater tank. The water system operates according to a simple principle:
- Water from the tank is drawn in via a submersible pump or pressure water pump.
- The pump builds pressure in the pipes so that water comes out of the tap in the kitchen, washbasin, sink, shower, or outdoor shower – depending on what is installed.
- Wastewater flows through the drain into the grey water tank or a wastewater container.
Many models also have a boiler or a clever combination of heating and hot water, so you have not only cold water but also hot water for showering, brushing teeth, and more. The key is:
- the right pressure, as too little pressure leads to a dripping water stream, while too much increases the risk of overpressure and leaks,
- a clean installation of the components
- and, if needed, a sensibly placed water filter in the system.
When everything is well coordinated, the water in the camper feels almost like a given.
Planning the water supply – water demand, tank sizes, and self-sufficiency
Before installing the next water tank or switching to larger water supplies, it's worth taking an honest look at your water needs. A few guidelines can help: On average, you need about 15 to 25 liters per person per day for drinking, cooking, washing dishes, handwashing, showering, and brushing teeth. In summer, the amount is somewhat higher, in winter somewhat lower – although heating naturally plays a role here. If you travel with several guests or family, consumption quickly adds up. In many campers, the fresh water tanks are also somewhere between 50 and 200 liters capacity – depending on interior space, weight, and desired independence.
Water system: undertank or overtank?
The choice between undertank and overtank not only affects your range but also weight, frost protection, interior space usage, and maintenance of the water supply in the motorhome.
|
Criterion |
Undertank |
Above-floor tank (internal tank) |
|
Location |
Under the vehicle floor |
Installed inside the interior |
|
Frost |
Higher risk of freezing |
Better protected by interior heating |
|
Interior space |
Saves space in living and storage areas |
Requires cabinet or bench volume |
|
Weight and driving behavior |
Weight low down – can improve driving behavior |
Weight higher up, but often easier to access |
|
Maintenance and cleaning |
Somewhat more difficult to reach |
Easier to clean, disinfect, and inspect |
|
Installation |
More complex; more connections and ventilation |
Usually simpler; shorter pipes |
Also important are an easily accessible filling neck, a tight tank cap, functioning ventilation, and a reliable level indicator so you can keep an eye on your water reserves.
Freshwater supply – Everything about filling and water quality
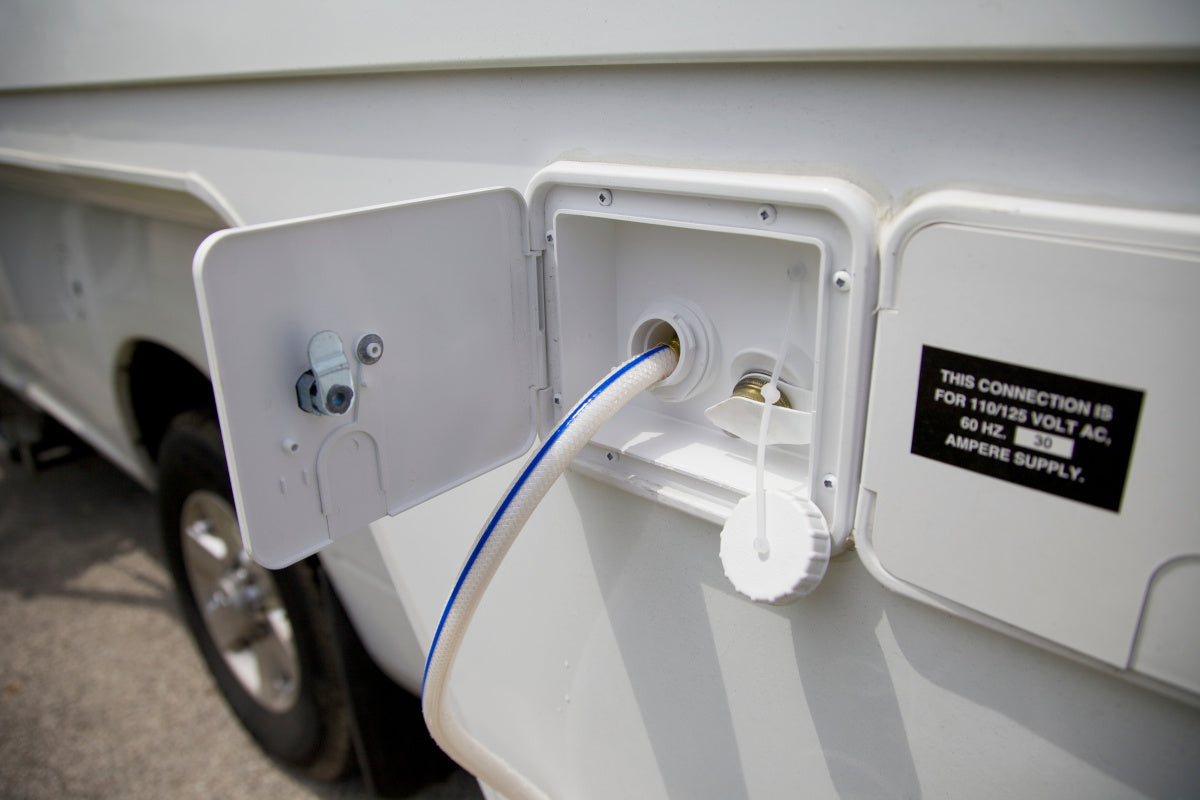
When filling fresh water: the more carefully you work, the better your drinking water quality in the motorhome. At campsites, parking areas, gas stations, and filling points, you will usually find suitable connections for drinking water. It is best to use a food-grade drinking water hose, appropriate adapters, or if necessary, a clean watering can or wide-neck canister if the filler neck is hard to reach.
Also avoid the common mistake of pouring tap water into the water tank without paying attention to water quality and cleanliness. Unwanted guests such as bacteria, viruses, lime, microorganisms, algae, dirt, or even medication residues often lurk here. Especially abroad and at random filling points, drinking water quality is not always guaranteed.
However, to be able to consume even contaminated water yourself, you have the choice between three filters:
- Activated carbon filters: against odor, taste, chlorine, and some residues
- Sediment filters: against dirt particles, sand, and rust
- Ceramic or membrane filters: against microorganisms, bacteria, and – depending on the filter type – also viruses
You can install the filters as inline filters directly on the hose when filling or fixed in the water system beforehand.
Important note: Do not let water stand in the tank for weeks; use it promptly. Also, keep your water tank clean and well maintained.
This is how proper water hygiene works
How long you can leave water in the tank depends on temperatures, season, water quality, and your usage. The following data can serve as a rough guide:
- Drinking water: maximum 2 to 3 days if you want to drink it pure
- Non-potable water for washing dishes, showering, handwashing: about 5 to 7 days before you replace it
The rule is: standing water, warmth, and insufficient cleaning promote contamination and bacterial growth. If you notice unpleasant odors, slimy pipes or water containers, or cloudy water, replace the water immediately.
Additionally, you should thoroughly clean and disinfect your water container at least once or twice per season. Use mild agents with chlorine dioxide or silver ions, for example, and avoid aggressive household remedies like vinegar or citric acid – they can damage the plastics, seals, and metals of the container.
Water tanks and water canisters – These are the differences
The fresh water tank is the heart of your mobile water supply. Usually, the tanks are made of food-grade plastic, accessible through inspection openings, and can be well maintained with certain cleaning or disinfecting agents. When buying, pay attention to the following criteria:
- Smooth inner surfaces to reduce biofilm and algae formation
- An easy way to empty
- Safe filling without contamination entering the system due to overpressure or incorrect hoses
Water canisters
The advantages:
- flexibly replaceable if a model becomes leaky
- easy to carry, fill, and clean
- ideal for small water supplies on short trips
The disadvantages:
- you have to refill manually more often
- less supply = less independence and frequent refilling
- more handling effort with water containers, hoses, and watering cans in everyday use
Water tanks
The advantages:
- high capacity up to 100 liters or more = longer independence without refilling
- automatic integration into the vehicle system for comfort at the tap
- space-saving mounted under the floor or inconspicuously inside
The disadvantages:
- high acquisition costs
- difficult to clean and not flexibly replaceable
- Less suitable for small vans
Pump systems in practice
Without a water pump, hardly any water comes out of the tap in the camper. In most motorhomes or camper vans, you will therefore find either a simple submersible pump in the tank or a more powerful pressure water pump in the piping system.
The submersible pump is inexpensive and simple. It sits directly in the water tank and is completely sufficient for many small models. The downside is that it often delivers less pressure, but it is quiet and easy to replace. The pressure water pump, on the other hand, works like at home: you have a constant water jet with good comfort, which is ideal for the shower and kitchen. However, the pump is usually louder and significantly more complex to install. Submersible pumps are therefore perfect for the compact, affordable setup, while pressure pumps score especially in comfort in larger vehicles.
Properly rationing water – tips for saving water
The more self-sufficient you want to camp, the more your water management matters. Because the best water supply in the motorhome is of little use if your supply is empty after just two days. With a few simple tips, you can significantly reduce your water consumption without sacrificing comfort:
- Shower briefly and use a showerhead with a water-saving function
- Turn off water when soaping, brushing teeth, and washing hands
- Wipe dishes first, then rinse briefly in the sink with little water or in a second basin
- When cooking, use only as much water as necessary, use little water, and always keep the lid on the pot
- If possible, use an outdoor shower or solar shower and only rinse briefly
Wastewater in the motorhome – greywater, blackwater, and proper disposal
Everything that goes down when showering, washing hands, or doing dishes ends up as greywater in the greywater tank, often also called the wastewater container. This also includes cooking water and even soap residues at the sink and dirty water from the dish basin. Toilet wastewater – that is, classic blackwater – collects in the waste tank or toilet cassette. The two wastewater tanks therefore operate separately and must also be disposed of separately by you.
Important for toilet wastewater:
- Full tanks lead to odors and, in the worst case, overflow.
- Wastewater always belongs in official disposal stations, wastewater sewers, or collection points. Never dispose of it simply in a street drain or pour it into nature.
- A look at the capacity of your tanks helps plan everyday life: How often do you have to empty them and how much does your water consumption affect your route and choice of campsites?
Especially here, a chemical- and water-free dry toilet solution from BioTioo can help reduce the load on the water system in the motorhome.
BioTioo – The best addition for a successful water supply in the motorhome
Now comes the exciting part: What does a BioTioo biotoilet have to do with your water supply in the motorhome? Quite a lot: A chemical-free dry separation toilet reduces your water system on several levels:
- You no longer need a traditional toilet flush – this significantly reduces your water consumption.
- No or hardly any blackwater is produced in the waste tank because solids are collected separately and dry.
- Your greywater stays cleaner and is easier to dispose of because no aggressive chemicals from the toilet cassette get into it.
In short: With the powerful dry toilet solution from BioTioo, the BioTioo 2.0, you significantly relieve your water supply and are therefore both more independent and more comfortable while camping on the go. See for yourself and benefit from water-saving toilet luxury: Order your BioTioo 2.0 now and start your next trip more water-efficiently – we look forward to hearing from you!

